Most of the time, I share recipes so YOU can make them. But, this one, I’m sharing so I can make it… over and over again. Before this summer, I’d never made a cobbler. I was more of a pie person. But, let me tell you, a cobbler is 10 times easier than a pie… and dare I say it? BETTER!
This recipe is awesome because you can swap in any fruit for the peaches, and keep everything else the same. This month, I first made it with peaches (adding a few blueberries), then with strawberries and raspberries. Both were delicious. Recipe below.


This recipe was originally posted on my recipes.com, https://www.myrecipes.com/recipe/easy-peach-cobbler. But, my take on it is below:
Ingredients
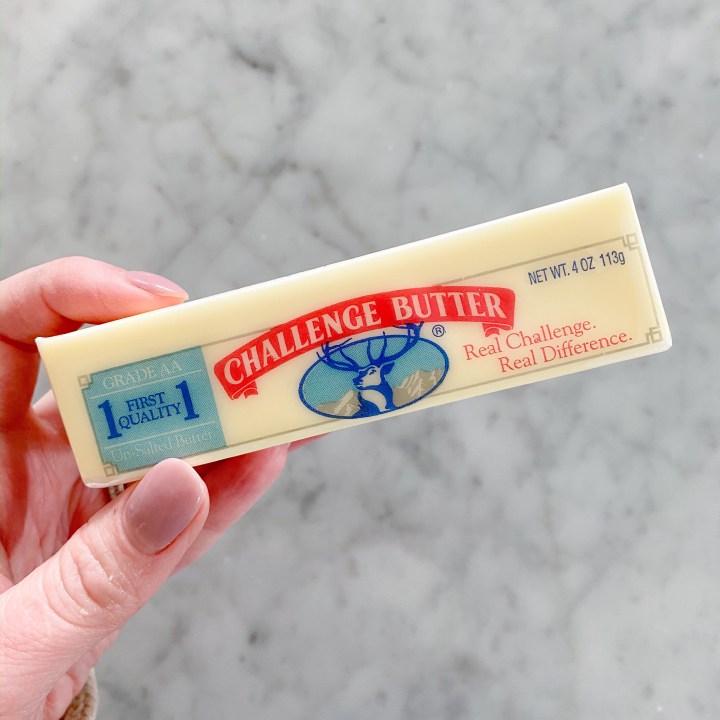
- 1/2 cup unsalted butter
- 1 cup all-purpose flour
- 2 cups sugar, divided
- 1 tablespoon baking powder
- Pinch of salt
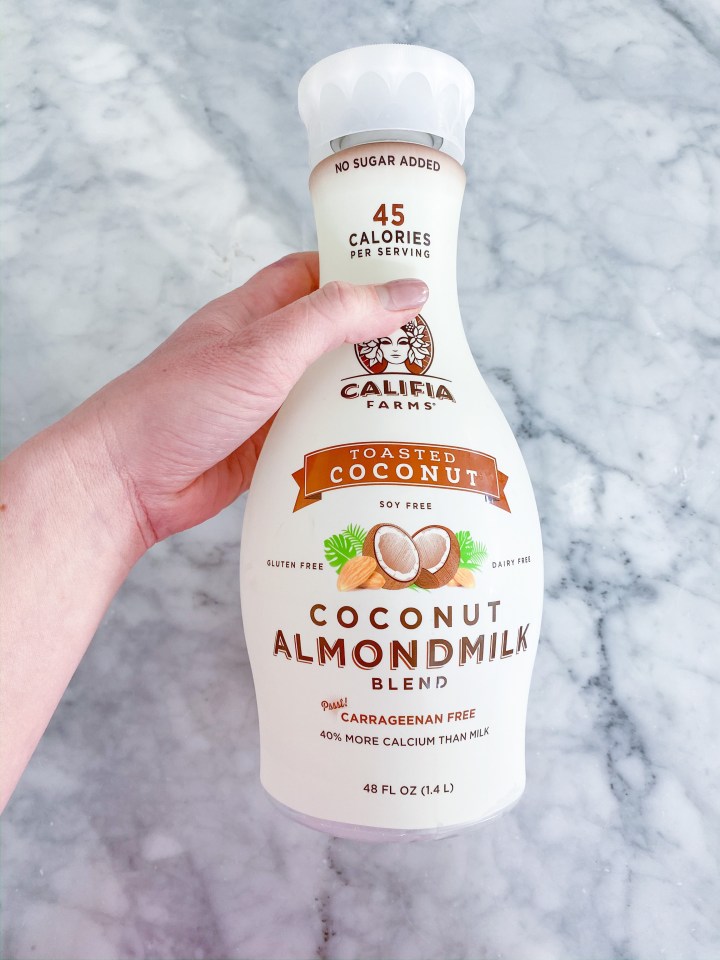
- 1 cup milk
- 4 cups fresh peach slices (or other fruit)
- 1 tablespoon lemon juice (plus a little more)
- Ground cinnamon
Instructions
- Preheat oven to 375 degrees
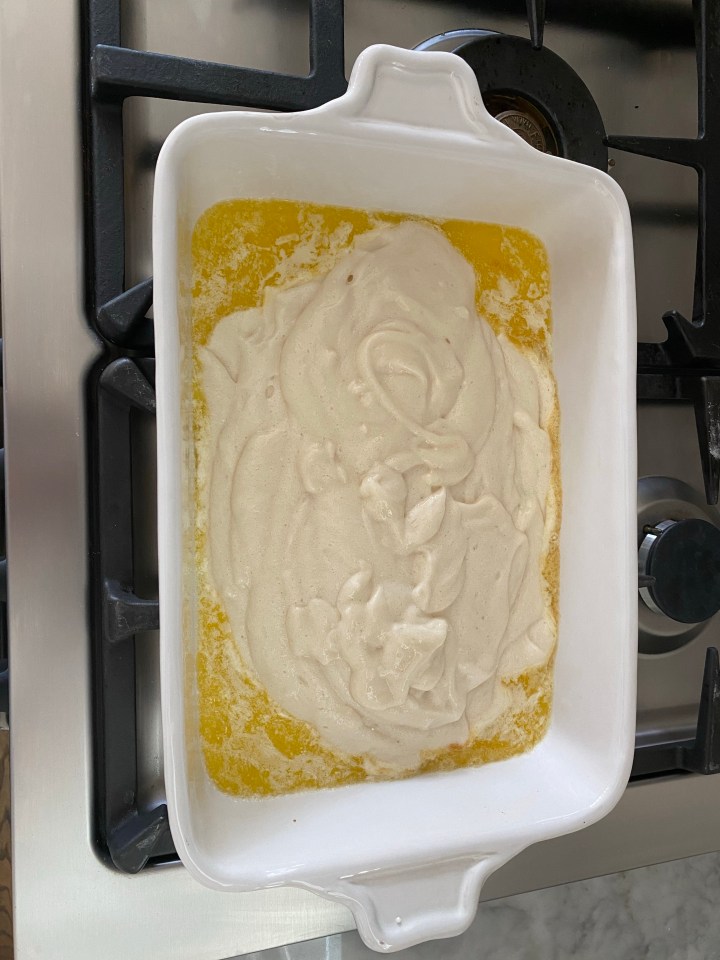
- Melt butter in a 12 x 9 inch baking pan. (Easiest step ever – throw it in the oven).
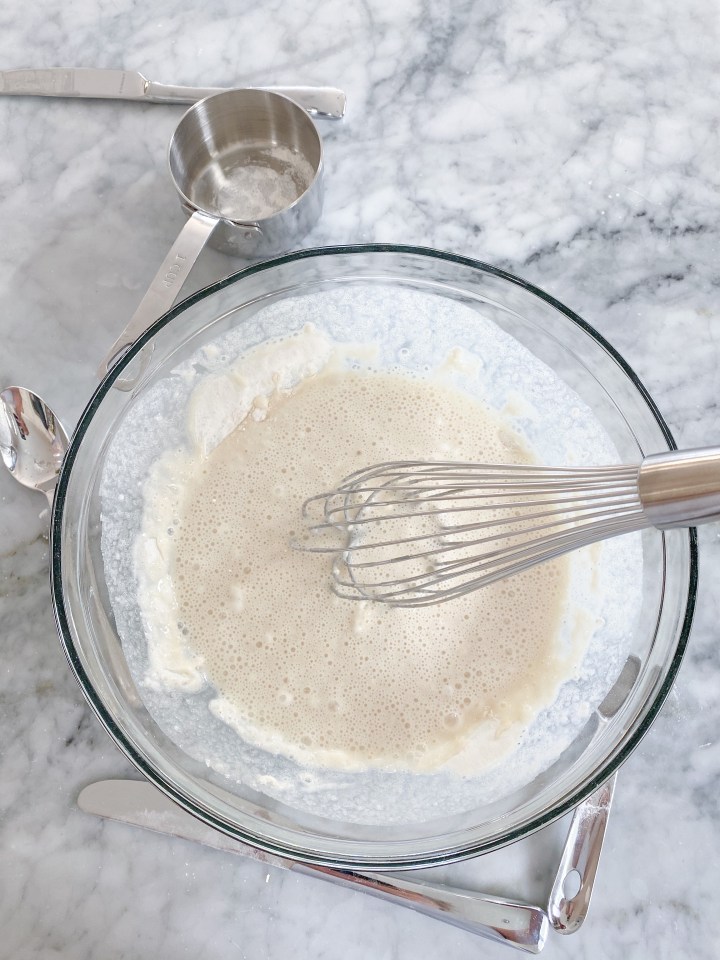
- Combine the flour, 1 cup of sugar, baking powder, and salt. Next, add milk, stirring just until dry ingredients are moistened. Pour batter over butter (do not stir). Just let it kinda sit on top.
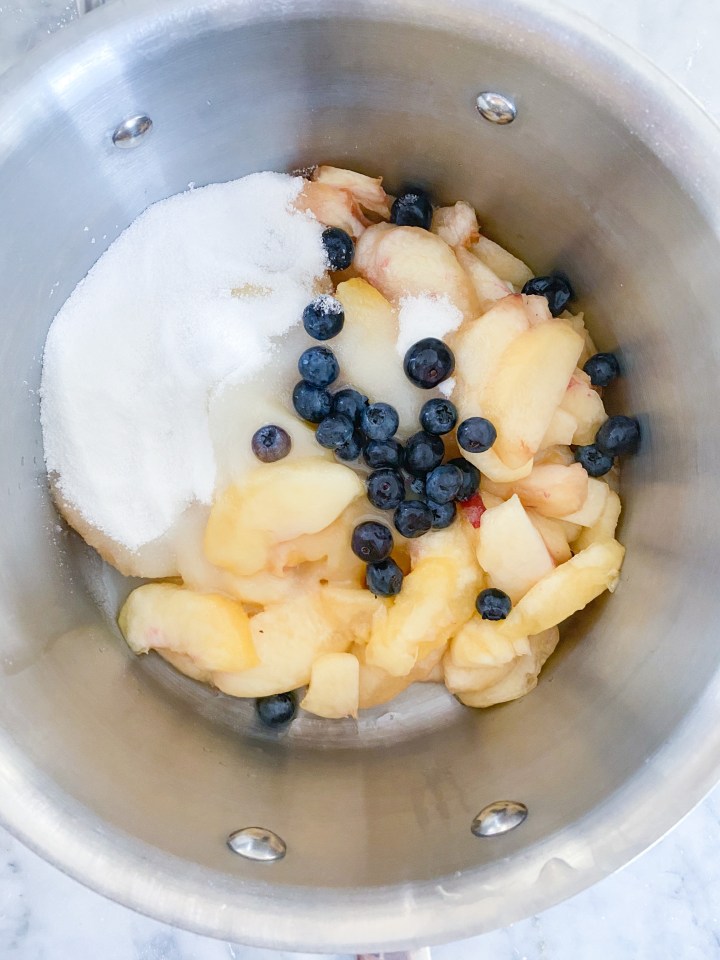
- Bring remaining 1 cup sugar, peach slices, and lemon juice to a boil over high heat, stirring the whole time. Next, pour over batter (do not stir). Sprinkle with cinnamon.
- Bake at 375 for 40 o 45 minutes.
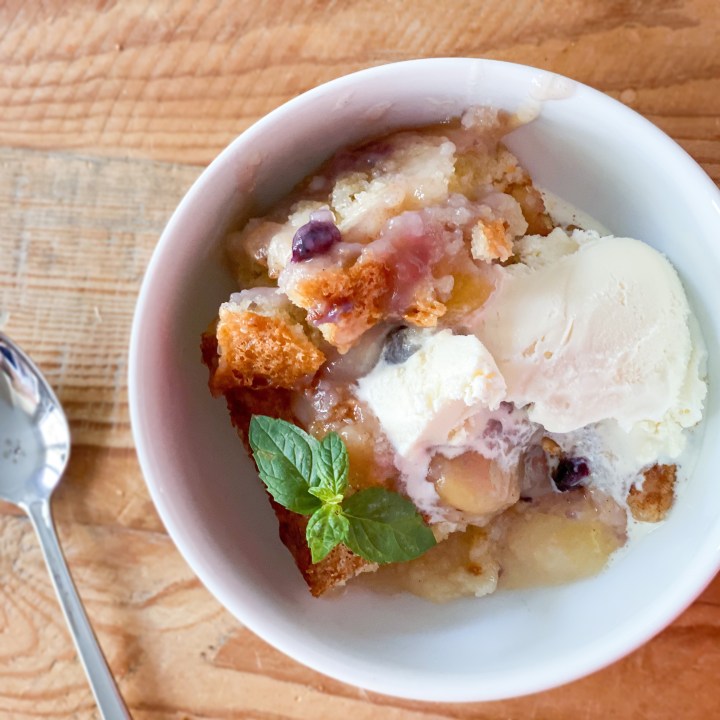
That’s it! Serve with vanilla ice cream, and garnish with mint (if you really want to go all in).


And, that, my friends, is a wrap! You can swap in any fruit for the peaches… add a few blueberries if you like. One note, I did raspberries one time and they definitely cooked down to be more liquidy. But, the cobbler turned out delicious nonetheless.
This might be the easiest and most delicious dessert there is. Happy baking!
xoxo,
LW